Transform textured, damaged, or uneven drywall into a pristine, smooth surface with skim coating. Whether for repairs or renovations, this guide details the full process.
Understanding Skim Coating and Its Applications
Skim coating involves applying one or more very thin layers of joint compound over an entire wall or ceiling surface, resulting in a smooth, consistent finish. It differs from typical mudding or patching as it covers the entire area, even seemingly undamaged sections. This technique is often necessary for various situations: preparing surfaces after wallpaper removal, converting subtly textured walls to a modern smooth aesthetic, restoring walls with numerous minor damages (such as small holes, scratches, or dents), and achieving a level 5 drywall finish crucial for areas with specific lighting. In [Columbus](/locations/ohio/columbus) and [Cleveland](/locations/ohio/cleveland), requests for skim coating are common during home remodels where residents update older properties with textured walls to a contemporary, sleek look.
Selecting the Optimal Compound for Skim Coating
Your choice of joint compound significantly impacts both the quality and ease of your skim coat project. Pre-mixed all-purpose joint compound is typically preferred for skim coating due to its user-friendly nature, extended open time (the duration it remains pliable), and smooth sanding properties. For larger scale jobs, purchasing it in five-gallon pails offers the best value. Some professionals opt for topping compound, which is lighter and sands more easily but has less adhesive strength. It performs well on properly prepped surfaces but might not adhere as effectively to glossy paint or damaged paper. For particularly challenging surfaces—like damaged paper, leftover wallpaper glue, or high-gloss paint—a setting-type compound is recommended for the initial layer. This type bonds aggressively, resists shrinking, and prevents bubbling. For skim coating, mix it slightly thinner than the directions on the package suggest.
Essential Surface Preparation for Skim Coating drywal
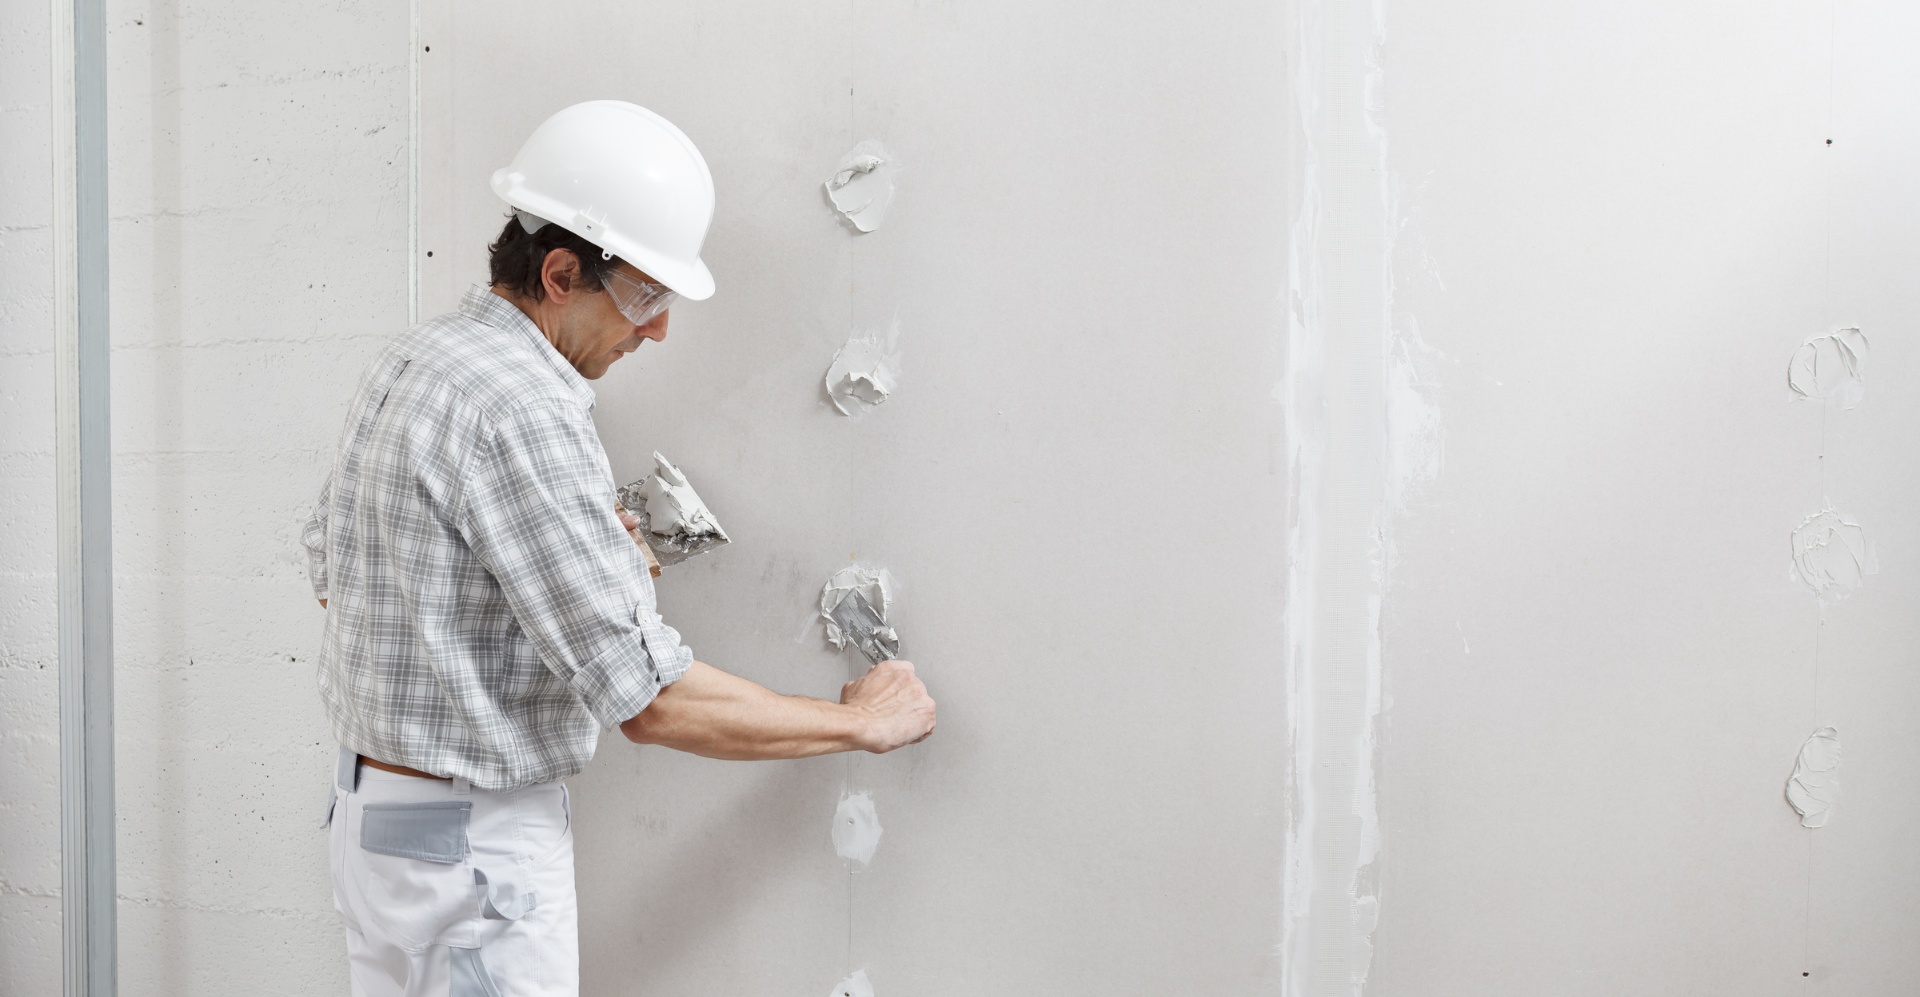
Thorough preparation is paramount for ensuring your skim coat adheres correctly and achieves a flawless finish. Begin by removing any peeling paint, wallpaper, or loose joint compound. Fill any substantial holes and cracks with compound, allowing them to dry completely before starting the skim coat (which is too thin to adequately fill defects larger than a scratch). Sand down any high spots or ridges, and then clear away dust with a damp sponge. If dealing with glossy paint, lightly sand the surface with 120-grit sandpaper or apply a bonding primer to provide a suitable adhesion point for the compound. For walls where wallpaper has been removed, thoroughly wash away any residual adhesive using a warm water and wallpaper remover solution. Adhesive remnants can cause compound to bubble and fail to bond. Homeowners in [Cincinnati](/locations/ohio/cincinnati) renovating older Victorian-era residences frequently encounter multiple layers of old wallpaper and paint, making diligent preparation absolutely critical.
Applying the Initial Skim Coat Layer
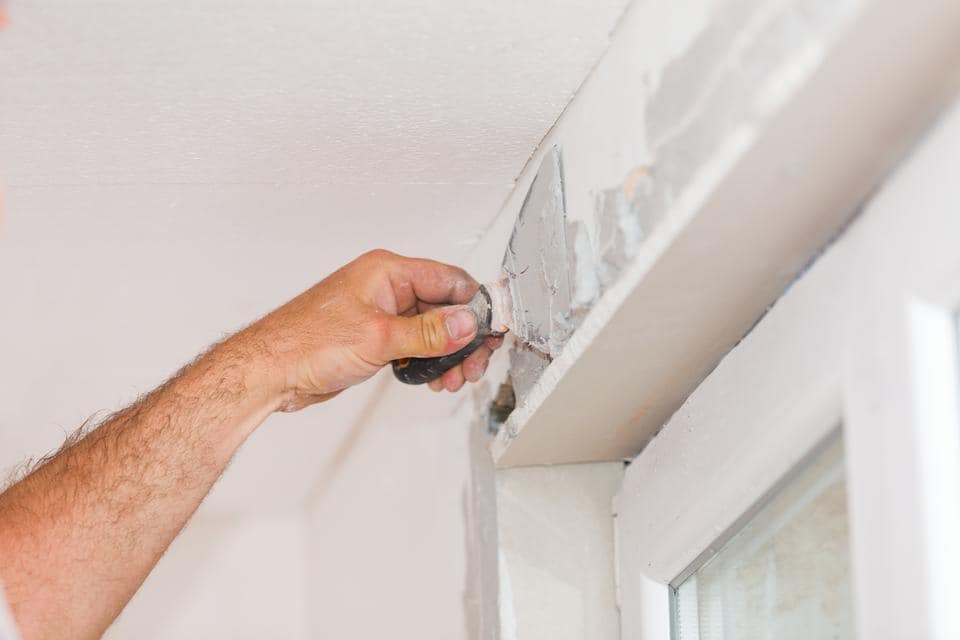
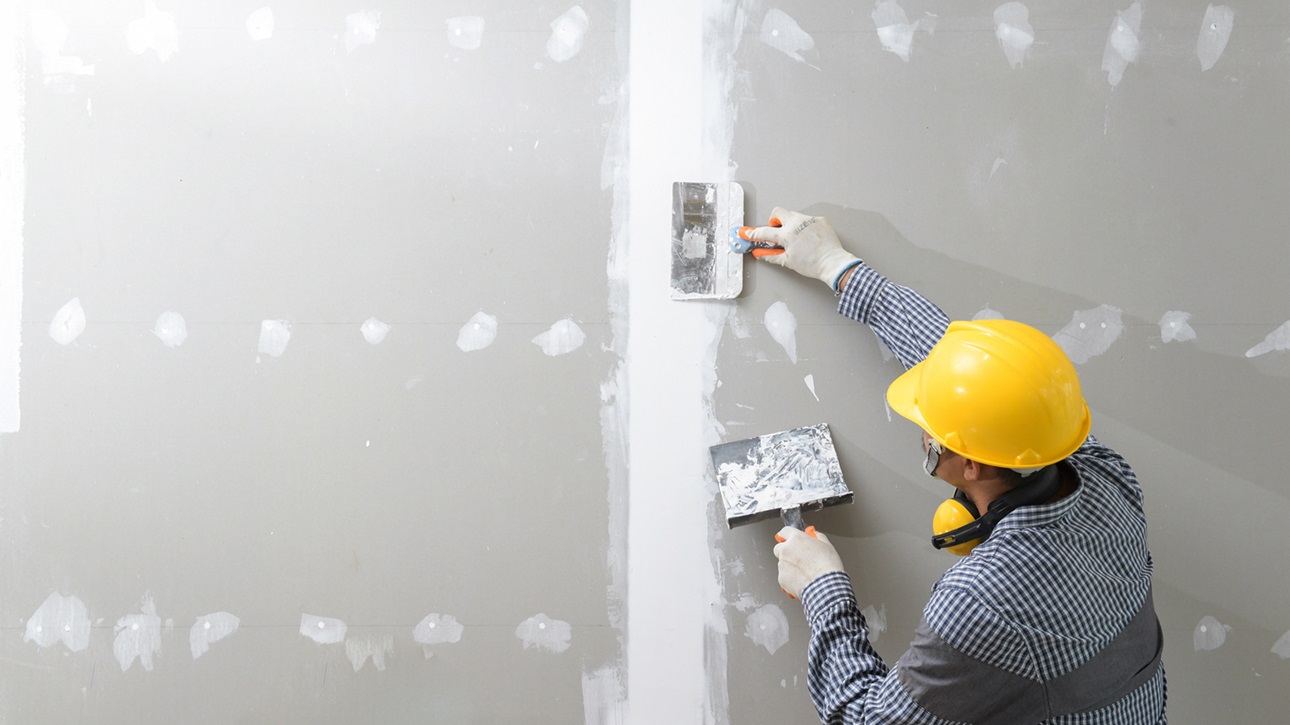
Load a 12-inch or wider drywall knife with a modest amount of compound and apply it to the wall using smooth, overlapping strokes. Work in manageable sections, approximately four feet wide, applying the compound from top to bottom. Aim for an even layer, roughly the thickness of a credit card—it should be sheer enough that you might still see the underlying wall in places, yet substantial enough to address minor flaws. Avoid overworking the compound once it starts to stiffen, as this can create unsightly drag marks and ridges. During this first coat, speed is more important than achieving perfection; you will be sanding and applying a second coat, so minor tool marks are acceptable. For extensive areas, a paint roller can be used to quickly apply compound: roll it on, then immediately smooth it out with your knife. This method significantly speeds up coverage compared to knife-only application and is the preferred approach for skim coating entire rooms.
Sanding and Applying the Second Skim Coat
Once the first coat has thoroughly dried (typically 24 hours under average conditions, though homes in [Dayton](/locations/ohio/dayton) might require more time during humid Ohio summers), gently sand the surface using 150-grit sandpaper on a pole sander. The goal here is to knock down any ridges or high spots, not to sand all the way to the original drywall. After sanding, wipe away all dust with a barely damp sponge or microfiber cloth. Apply the second coat in the same manner as the first, but direct your strokes perpendicular to how the first coat was applied. For instance, if the first coat was vertical, apply the second horizontally. This cross-hatching technique helps to fill any remaining low spots or imperfections from the initial layer. The second coat should be even thinner than the first. For most projects, two coats are sufficient; a third coat is generally reserved for level 5 finishes or surfaces intended for high-gloss paint.
Final Sanding and Comprehensive Inspection
The final sanding stage is what elevates a good skim coat to an excellent one. Using 180 to 220-grit sandpaper on a pole sander, meticulously work across the entire surface. To check your progress, position a powerful work light (such as a shop light or high-lumen flashlight) at a shallow angle against the wall. This 'raking light' technique will highlight every imperfection—any bumps, ridges, scratches, or low spots will cast shadows. Circle any detected imperfections with a pencil, then touch them up with a very thin application of compound, allow it to dry, and sand again. Repeat this process until the surface appears uniformly smooth when viewed under the raking light. Prior to priming, thoroughly dust the walls using a microfiber cloth or a vacuum equipped with a brush attachment. Our [drywall finishing and texturing](/services/drywall-finishing-texturing) team in [Toledo](/locations/ohio/toledo) and [Akron](/locations/ohio/akron) employs this raking-light inspection on every project.
Priming and Painting After Skim Coat Application
A skim-coated surface is highly absorbent and will show uneven paint absorption if not properly primed. Apply a high-quality drywall primer (PVA primer is ideal) over the entire skim-coated area. This seals the joint compound and creates a consistent surface for the paint to adhere to. Once the primer is dry, lightly sand with 220-grit sandpaper to remove any small nubs or raised fibers, then dust the surface and apply your chosen finish paint. For optimal results, use a roller with a 3/8-inch nap and apply two complete coats of paint. Skim-coated walls provide an exceptionally smooth base, resulting in a premium finish that enhances the value of any home.
Need Professional Drywall Help?
Contact Expert Drywall Repairs for a free estimate on your next project.
Get a Free QuoteLooking for drywall repair services in your area? Browse our full service directory by city.