Sanding is the make-or-break step for any drywall project. Employ these proven methods to ensure superbly smooth, paint-ready surfaces every time.
The Critical Role of Sanding in Drywall Projects
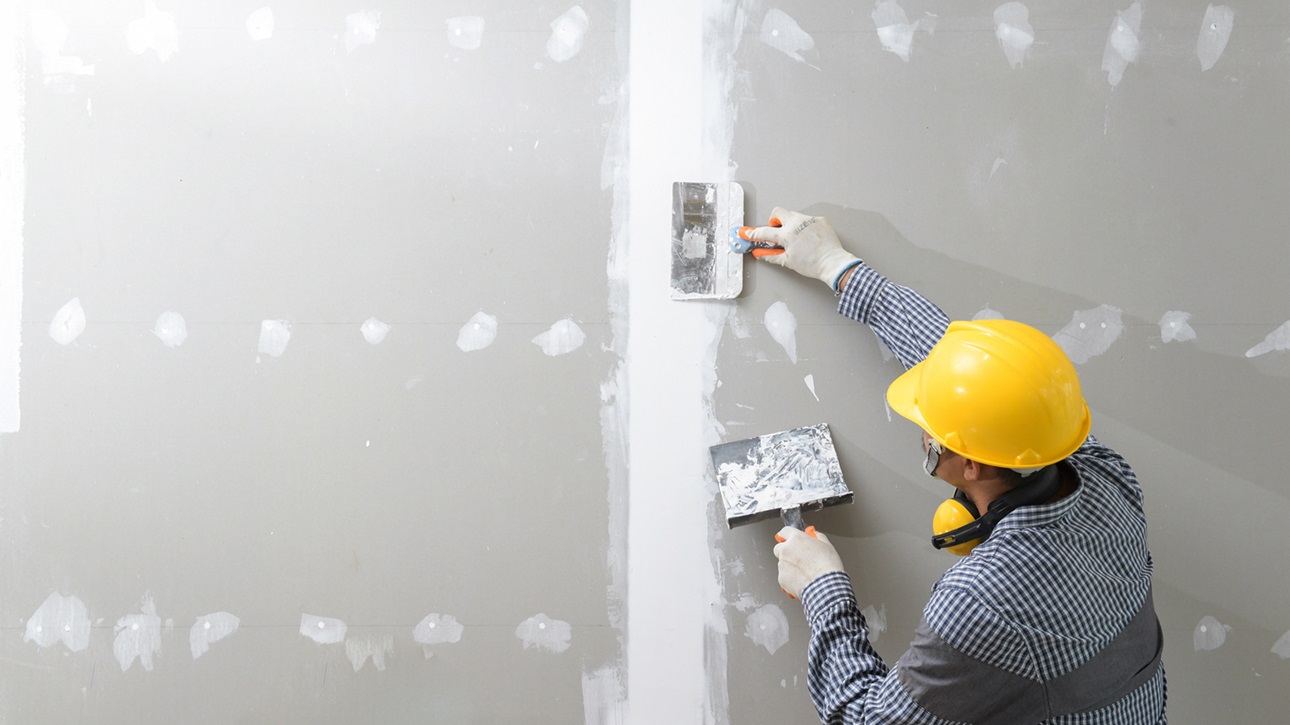
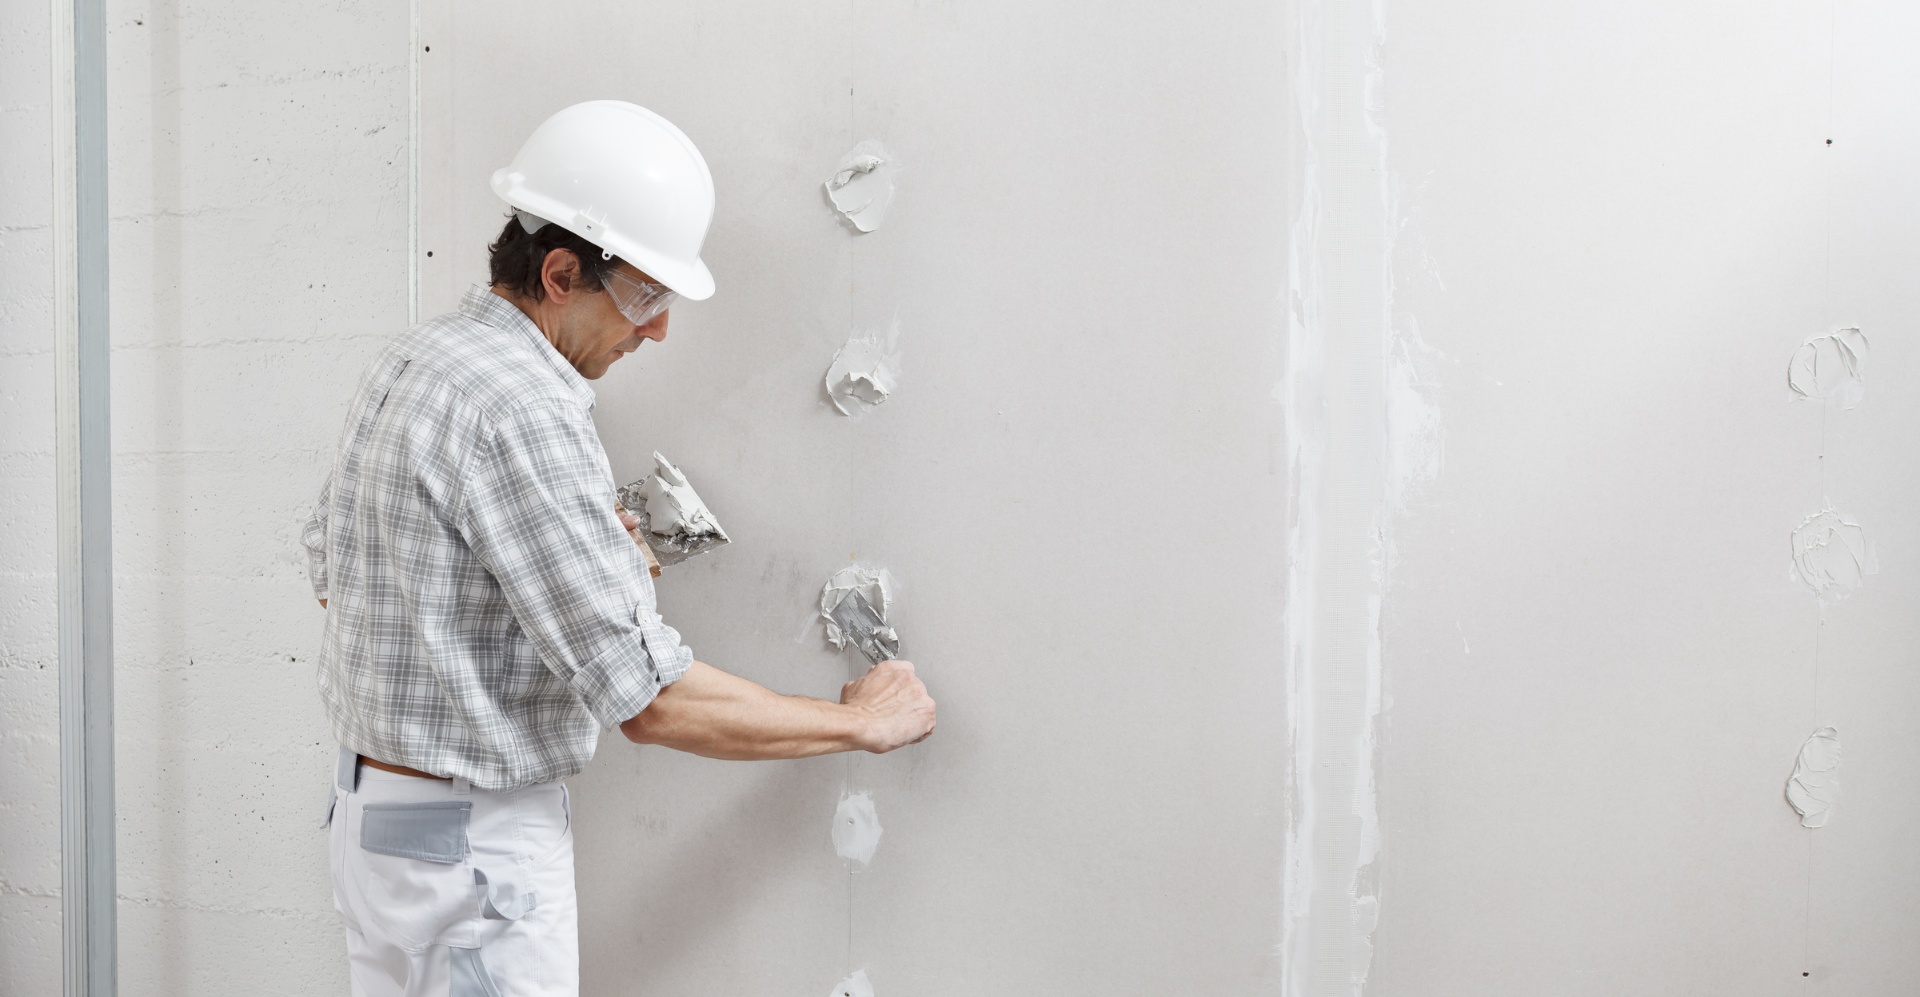
Even with expert application, joint compound often leaves behind minor ridges, marks from tools, and other slight flaws that must be perfectly smooth before any paint goes on. Sanding is the crucial step that transforms a merely functional drywall installation into a truly professional-looking surface. Neglecting this part, rushing it, or performing it incorrectly will allow every imperfection to show through the paint, especially when exposed to direct or angled light. Effective sanding goes beyond just rubbing sandpaper; it demands the correct abrasive, the right equipment, appropriate pressure, and a systematic method to cover every inch of the prepared surface. For many homes in the Pacific Northwest, particularly in [Seattle](/locations/washington/seattle) and [Tacoma](/locations/washington/tacoma), where large windows let in abundant natural light, even small sanding errors become glaringly obvious.
Optimal Sandpaper Grit Selection
The choice of sandpaper grit depends on your specific sanding goal. For the initial smoothing after the second compound coat, 120-grit sandpaper is perfect for quickly removing raised areas and leveling the surface without causing damage. For the final sanding pass after the last coat, a 150 to 180-grit paper will create a smooth finish suitable for most painting applications. If you're aiming for Level 5 finishes or high-gloss paint, a final pass with 220-grit will achieve an exceptionally smooth result. Avoid starting with a grit that's too fine; it won't effectively remove tool marks or ridges, leading to excessive sanding time. Conversely, using a grit that is too coarse can scratch the drywall's paper face, creating defects that will be visible after painting.
Comparing Hand, Pole, and Power Sanding Methods
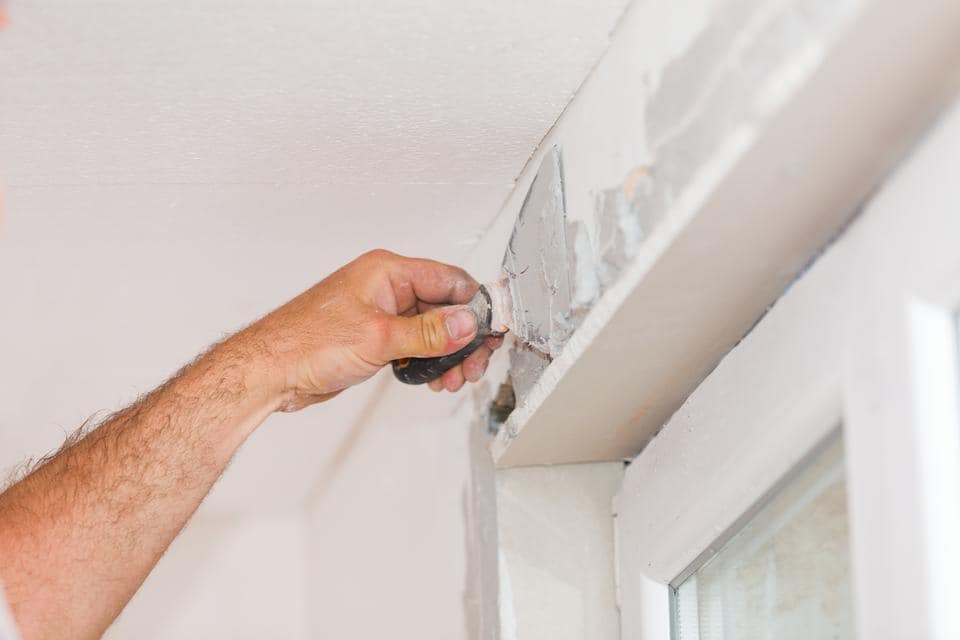
Hand sanding, using a sanding block or sponge, provides the highest level of control and is ideal for smaller areas, tight corners, and detailed work around electrical outlets and fixtures. A sanding sponge (available in various grit levels) is particularly effective for inside corners, as it naturally conforms to the angle without damaging adjacent surfaces. Pole sanders, which feature a sanding head attached to an extendable pole, are the preferred tool for walls and ceilings. They allow you to reach high areas without a ladder and apply consistent pressure over large areas. For very large projects, power sanders equipped with vacuum attachments can significantly cut down on both sanding time and dust. However, power sanders are powerful and require a gentle touch to prevent over-sanding. Drywall professionals in [Spokane](/locations/washington/spokane) and [Bellevue](/locations/washington/bellevue) typically combine pole sanders for open areas with hand sanding for detailed work.
Effective Sanding Technique and Pressure Application
A common error in sanding is applying too much pressure. Drywall compound is softer than the paper surface of the drywall panel, meaning heavy pressure can sand through the compound and into the paper before you notice. Use light, even strokes, allowing the sandpaper to do its job. Move the sander in broad, overlapping circular or figure-eight patterns, rather than short, linear strokes. Straight strokes often create dips and ridges, whereas circular motions provide a more uniformly blended surface. When working on ceilings, sand parallel to the ceiling joists, overlapping each pass by approximately half the width of the sanding head. On walls, begin at the top and work downwards to prevent falling dust from settling on already-sanded sections.
The Raking Light Inspection Method
After sanding, thoroughly inspect your work under raking light before applying primer. Position a strong light source—such as a shop light, a bright flashlight, or a clip-on light—at an extremely shallow angle (almost parallel to the wall surface) and slowly sweep it across the sanded area. At this angle, every slight rise, ripple, scratch, and low spot will cast a shadow, making it instantly visible. Use a pencil to mark any imperfections, then apply a thin layer of joint compound as a touch-up, let it dry, and sand again. This cycle of inspection, touch-up, and re-sanding may need to be repeated several times for challenging spots like butt joints and inside corners. Experienced finishers consider the raking light test to be the ultimate quality assurance—if it looks smooth under raking light, it will appear perfect in any normal lighting situation.
Strategies for Controlling Drywall Dust
Drywall dust is incredibly fine and pervasive. Managing it effectively protects your home, your health, and the quality of your paint job. Isolate the work area by sealing doorways and HVAC vents with plastic sheeting and painter's tape. A box fan placed in an open window, exhausting air outward, will create negative pressure, pulling dust out of the room. Always wear a properly fitted N95 respirator at minimum; drywall dust contains crystalline silica, which can lead to serious respiratory issues with prolonged exposure. For large-scale projects, consider renting a commercial air scrubber designed to filter out dust particles. Before priming, use a HEPA-filtered shop vacuum to clean all surfaces, and then wipe the walls with a slightly damp microfiber cloth to capture any remaining dust. Homeowners in [Vancouver](/locations/washington/vancouver) who neglect dust control often find drywall particles embedded in their paint finish, which is extremely difficult to correct later.
When to Hire Professionals for Drywall Sanding
Sanding typically represents the most physically demanding phase of drywall finishing. It involves extensive overhead work, repetitive motions, significant exposure to dust, and requires a keen eye to detect subtle imperfections. For these reasons, many homeowners who are comfortable with taping and mudding still opt to hire professionals for the sanding and finishing stages. Our [drywall finishing and texturing](/services/drywall-finishing-texturing) teams arrive equipped with professional-grade tools, advanced dust containment systems, and the expertise required to efficiently deliver impeccably smooth, paint-ready surfaces. We proudly serve homeowners across the broader Puget Sound region, from [Seattle](/locations/washington/seattle) to [Tacoma](/locations/washington/tacoma), and provide complimentary estimates for all finishing and texturing projects.
Need Professional Drywall Help?
Contact Expert Drywall Repairs for a free estimate on your next project.
Get a Free QuoteLooking for drywall repair services in your area? Browse our full service directory by city.