When drywall tape lifts or peels, the smooth finish of your walls is compromised. Identifying the root causes is key to achieving permanent repairs instead of temporary fixes.
Why Drywall Tape Develops Bubbles and Peels
Drywall tape defects are among the most vexing issues for homeowners, often emerging unexpectedly in areas that have appeared blemish-free for extended periods. The primary culprit is typically insufficient embedding compound – if the tape wasn't applied with enough joint compound beneath it for a strong bond, air pockets form between the tape and the drywall's surface. Over time, environmental factors like temperature swings, humidity fluctuations, and structural movement cause these trapped air pockets to expand, pushing the tape outwards into noticeable bubbles. Other contributing factors include applying tape over unclean or dusty surfaces, using joint compound that was overly thin or dried out, and working in conditions that caused the compound to cure too rapidly before proper adhesion. Homeowners in [Baltimore](/locations/maryland/baltimore) and [Annapolis](/locations/maryland/annapolis) frequently observe tape bubbling during the humid summer months, when moisture intensifies existing weaknesses in adhesive bonds.
Moisture as a Catalyst for Tape Failure
While initial installation flaws create a susceptibility, moisture frequently acts as the trigger, bringing dormant issues to the forefront. Paper drywall tape absorbs moisture from humid air, leading it to expand and contract independently of the underlying compound layer. In bathrooms, kitchens, and laundry rooms – environments prone to regular humidity spikes – tape joints are under constant duress from this moisture cycling. Subtle leaks behind walls can dampen the backside of the tape, causing it to detach from the compound even when the initial application was sound. If you observe tape failure concentrated in damp areas or during humid seasons, moisture is likely the driving force. Addressing the source of moisture – enhancing ventilation, fixing leaks, or lowering indoor humidity – is crucial before undertaking tape repairs, otherwise, the issue will likely recur.
Step-by-Step Guide to Repairing Bubbled Tape
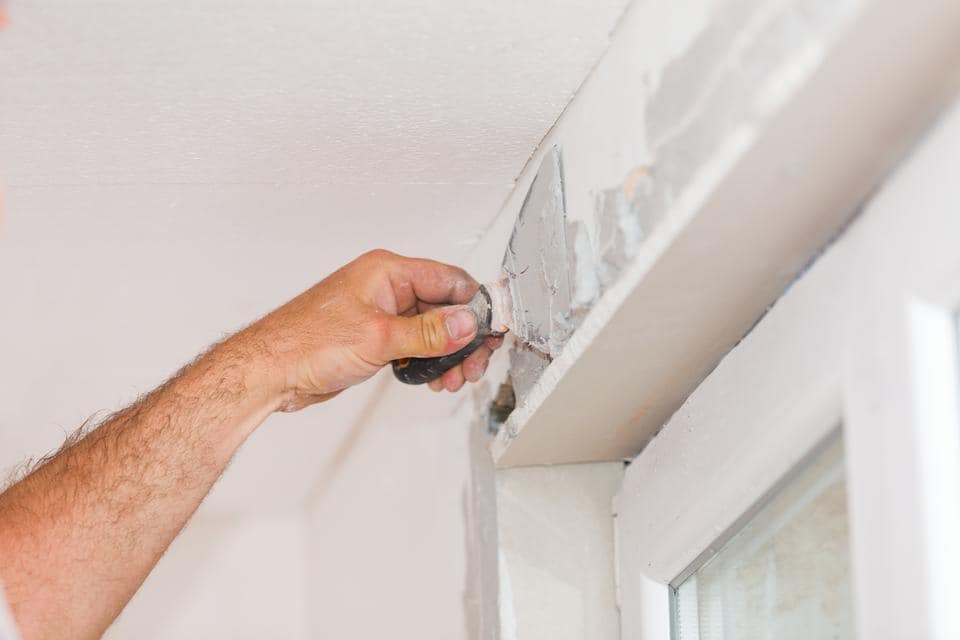
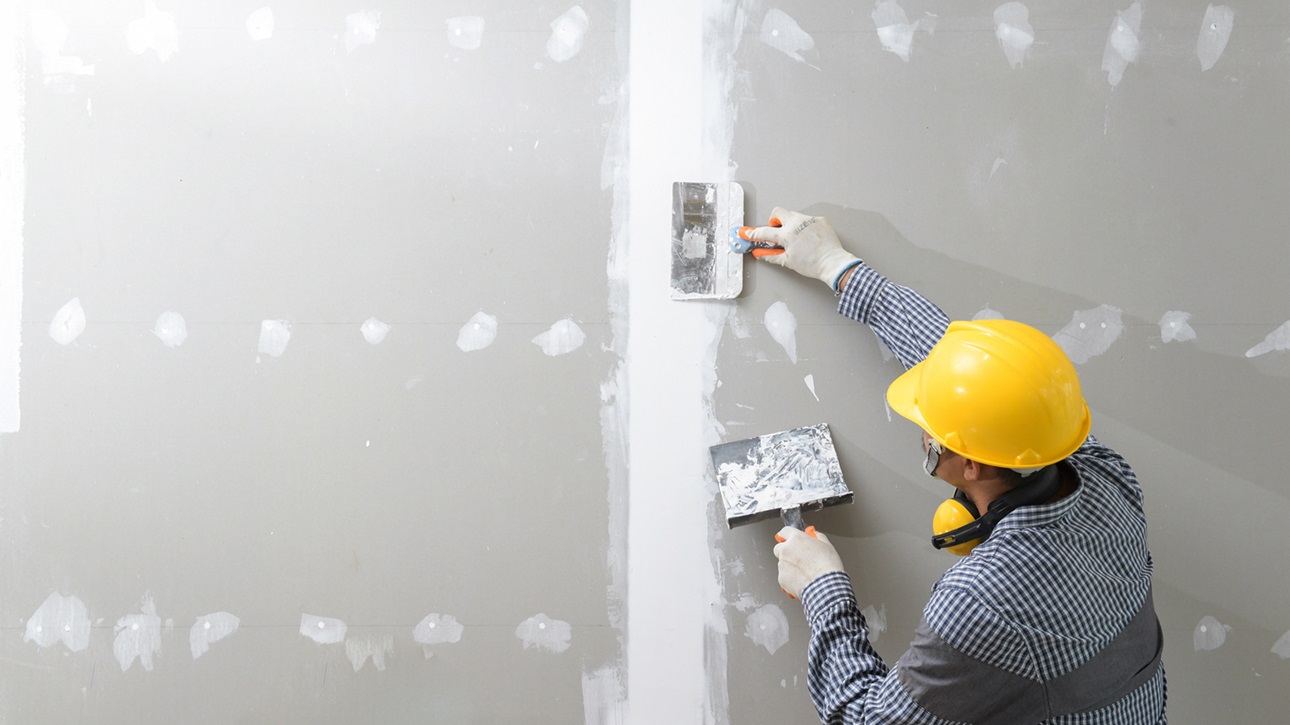
Repairing bubbled drywall tape involves carefully removing the damaged section and reapplying new tape correctly. Begin by using a sharp utility knife to cut along both edges of the bubbled area, then gently peel off the loose tape. Scrape the exposed surface clean, ensuring all cracked or poorly bonded old compound is removed. Apply a generous base coat of joint compound to the cleared area, extending it at least two inches beyond each side of the repair. Press new tape into the wet compound, firmly smoothing it from the center outwards to eliminate any trapped air. Cover the tape with another thin layer of compound, feathering the edges to seamlessly blend with the surrounding wall. Allow each coat to dry completely before lightly sanding and applying subsequent layers. Our [drywall finishing and texturing](/services/drywall-finishing-texturing) specialists regularly employ these methods across [Silver Spring](/locations/maryland/silver-spring) and [Rockville](/locations/maryland/rockville), delivering flawless and enduring repairs.
Paper vs. Mesh Tape for Drywall Repairs
When mending failed tape joints, the choice between paper tape and fiberglass mesh tape often depends on the joint's location and the stresses it endures. Paper tape offers superior shear strength – it resists cracking along the joint more effectively than mesh – making it the preferred option for interior corners, ceiling-to-wall junctions, and any point experiencing significant structural movement. Mesh tape is simpler to apply, self-adhesive, and less prone to bubbling because it doesn't require a bed coat for adhesion. However, it lacks the tensile strength of paper tape and should be used with setting-type compound rather than pre-mixed mud for adequate durability. For repairs where original paper tape failed due to poor adhesion, mesh tape can be an excellent alternative as it bypasses the bed-coat bonding problem that caused the initial failure.
Preventing Tape Issues in New Drywall Installations
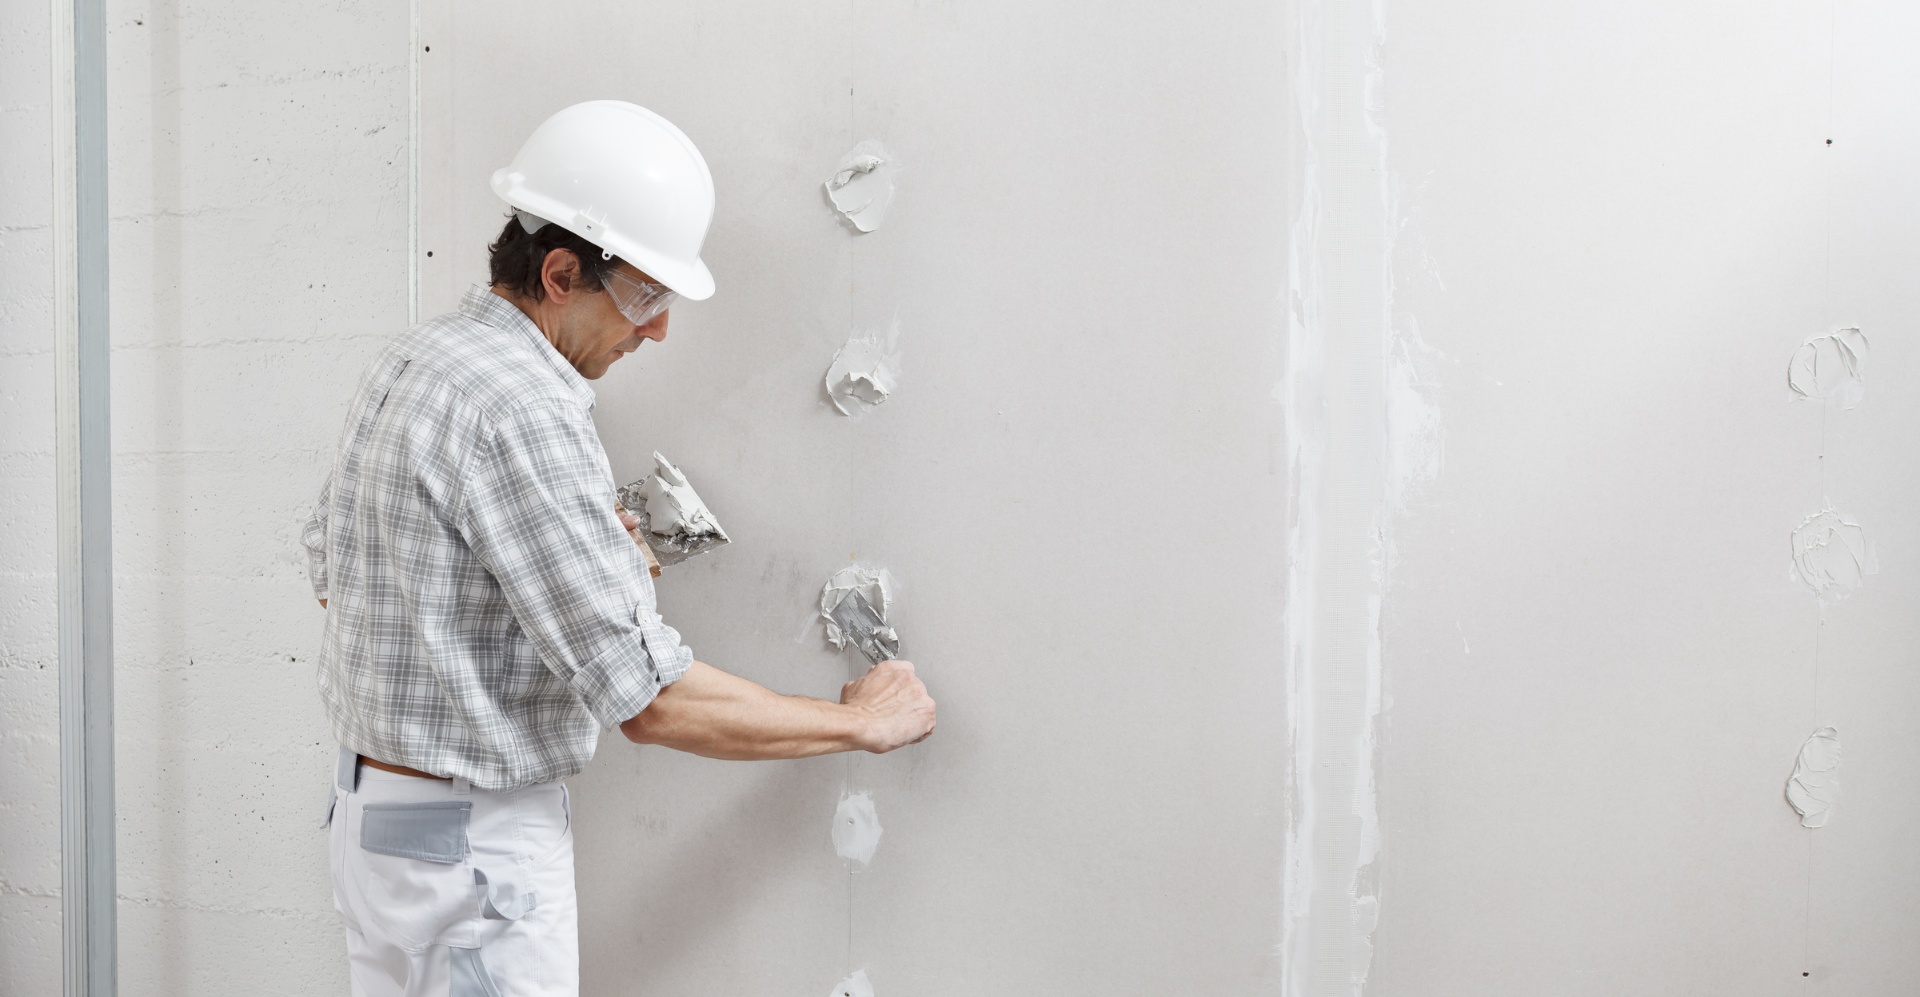
Whether you're installing new drywall yourself or overseeing a contractor, understanding the keys to preventing tape failure is essential for ensuring quality workmanship. The layer of compound beneath the tape must be sufficiently thick to fully embed the tape – you should see compound gently squeeze out from both edges when the tape is properly secured. The tape must be firmly pressed with a drywall knife to remove all air pockets, and any excess compound should be smoothed away without dislodging the tape from its bed. Working temperatures should be maintained above 50 degrees Fahrenheit, and the room should have adequate ventilation to facilitate uniform drying. Avoid applying tape to dusty surfaces or over compound that has already begun to set. Homeowners in [Frederick](/locations/maryland/frederick) and throughout the region undertaking new drywall installations should inquire with their contractor about their taping procedures – quality at this stage determines whether your walls remain pristine for years or develop problems within months.
When Professional Drywall Repair is Necessary
Minor sections of bubbled tape – a foot or two along a single seam – are often manageable for a capable homeowner with the right tools and patience. Nevertheless, if tape is failing across numerous joints, throughout an entire room, or on ceiling surfaces, seeking professional repair is highly advisable. Widespread failure often indicates a systemic issue with the initial installation or an ongoing moisture problem that requires expert diagnosis and remediation. Ceiling tape repair involves overhead work that is physically taxing and technically challenging, and subpar ceiling repairs are highly noticeable, as indirect light raking across the surface will reveal every imperfection. A professional contractor possesses the equipment, expertise, and experience to deliver seamless repairs on both walls and ceilings, sparing you the frustration of multiple attempts and unsatisfactory outcomes.
Need Professional Drywall Help?
Contact Expert Drywall Repairs for a free estimate on your next project.
Get a Free QuoteLooking for drywall repair services in your area? Browse our full service directory by city.