A hidden plumbing leak can devastate drywall from the inside out. Prompt detection and correct repair are crucial for averting structural issues and mold growth.
How Plumbing Leaks Silently Damage Drywall
Plumbing leaks are among the most destructive issues for your drywall, often because they go unnoticed for extended periods. A small puncture in a supply line can slowly release water into a wall cavity, saturating insulation and the rear of drywall panels without any outward sign. Drain connections that only drip when a fixture is used create intermittent moisture, making them even harder to find. By the time water spots, paint bubbles, or soft areas show up on the wall surface, the damage behind it can already be extensive. Property owners in [Indianapolis](/locations/indiana/indianapolis) and [Fort Wayne](/locations/indiana/fort-wayne) frequently uncover substantial hidden damage when they investigate a minor stain, only to find the leak has been active much longer than anticipated.
Locating the Cause Before You Begin Repairs
The primary rule for drywall repair due to plumbing issues is straightforward: resolve the leak first. Attempting to repair or replace drywall without fixing the source of the plumbing problem guarantees the damage will reappear. Pinpointing a leak's origin can range from simple to surprisingly challenging, depending on the plumbing layout. Water flows with gravity but can also travel along studs, pipes, and wires before dripping onto drywall in a spot far from the actual leak. A stain on a ground-floor ceiling might originate from a second-floor bathroom connection several feet away. If the source isn't immediately clear, a plumber equipped with leak detection tools can locate it without unnecessary wall demolition. Once the plumbing is fixed and confirmed, the drywall work can proceed with assurance that the repair will endure.
Evaluating the Full Extent of the Damage
Damage from plumbing leaks is almost always more severe than it appears externally. A water mark the size of a dinner plate on a ceiling can indicate a much larger saturated area on the panel's reverse side. The standard method is to use a moisture meter around the visible damage to determine the full scope of wet material. Any drywall showing elevated moisture readings must be removed, even if it looks fine from the front. This isn't overly cautious – it's practical. Drywall that has been soaked and then dried is permanently weakened, and mold, which likely grew during the wet period, will continue to spread even after the surface seems dry. In cities like [Evansville](/locations/indiana/evansville) and [South Bend](/locations/indiana/south-bend), where older residences often have galvanized steel plumbing prone to internal corrosion, leak-related drywall damage is a common repair scenario our team addresses regularly.
Proper Removal of Damaged Drywall
Once the damage is assessed, the compromised drywall is cut back to the nearest studs or joists on all sides of the affected area. This creates clean edges for attaching new panels and ensures all compromised material is gone. The wall or ceiling cavity then undergoes a thorough inspection. Wet insulation must be removed – saturated fiberglass insulation loses its R-value and promotes mold growth. The framing is checked for decay, mold, or structural issues and is treated or replaced as needed. Everything within the cavity must be completely dry before new drywall installation. Using fans and dehumidifiers to speed up drying is standard, and moisture meter readings should confirm that framing is below 15 percent moisture content before the cavity is sealed.
Installing New Panels and Finishing Touches
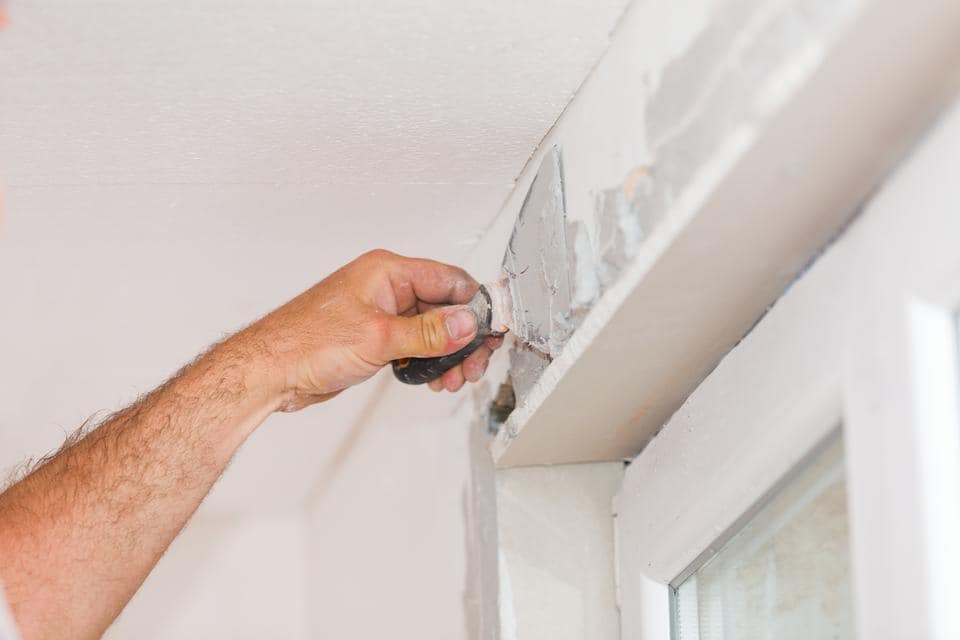
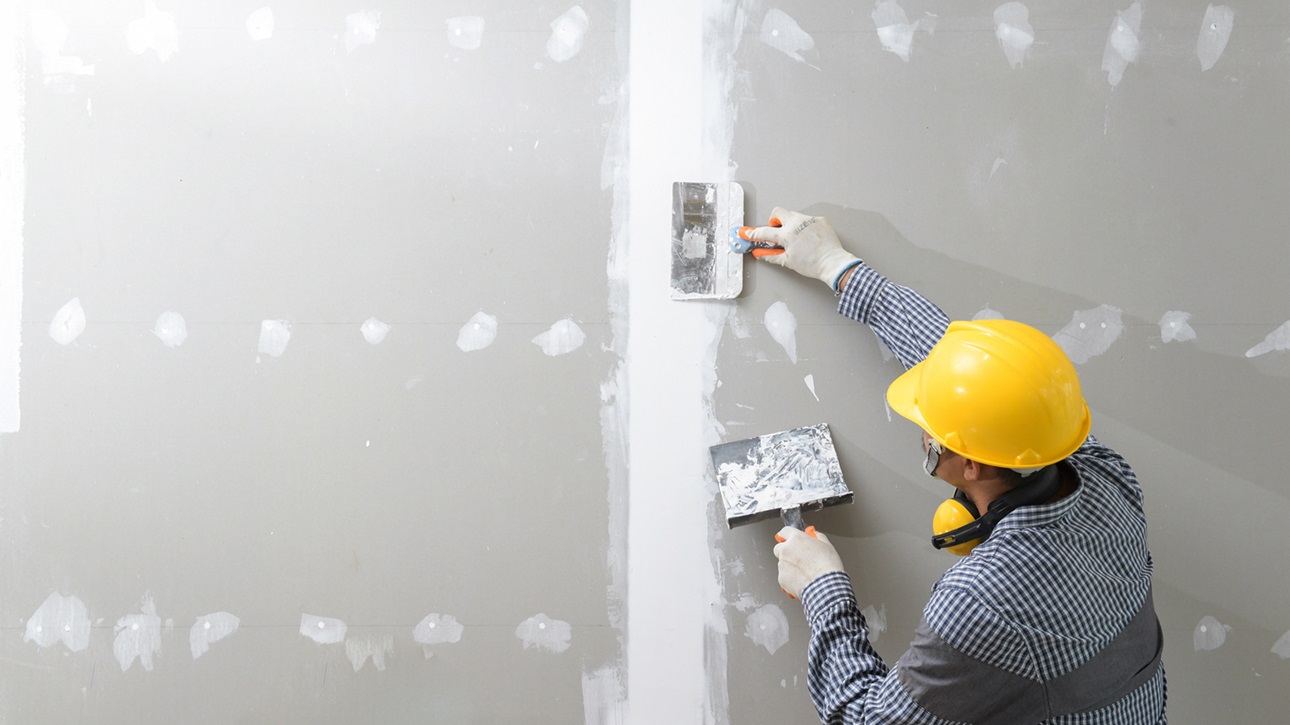
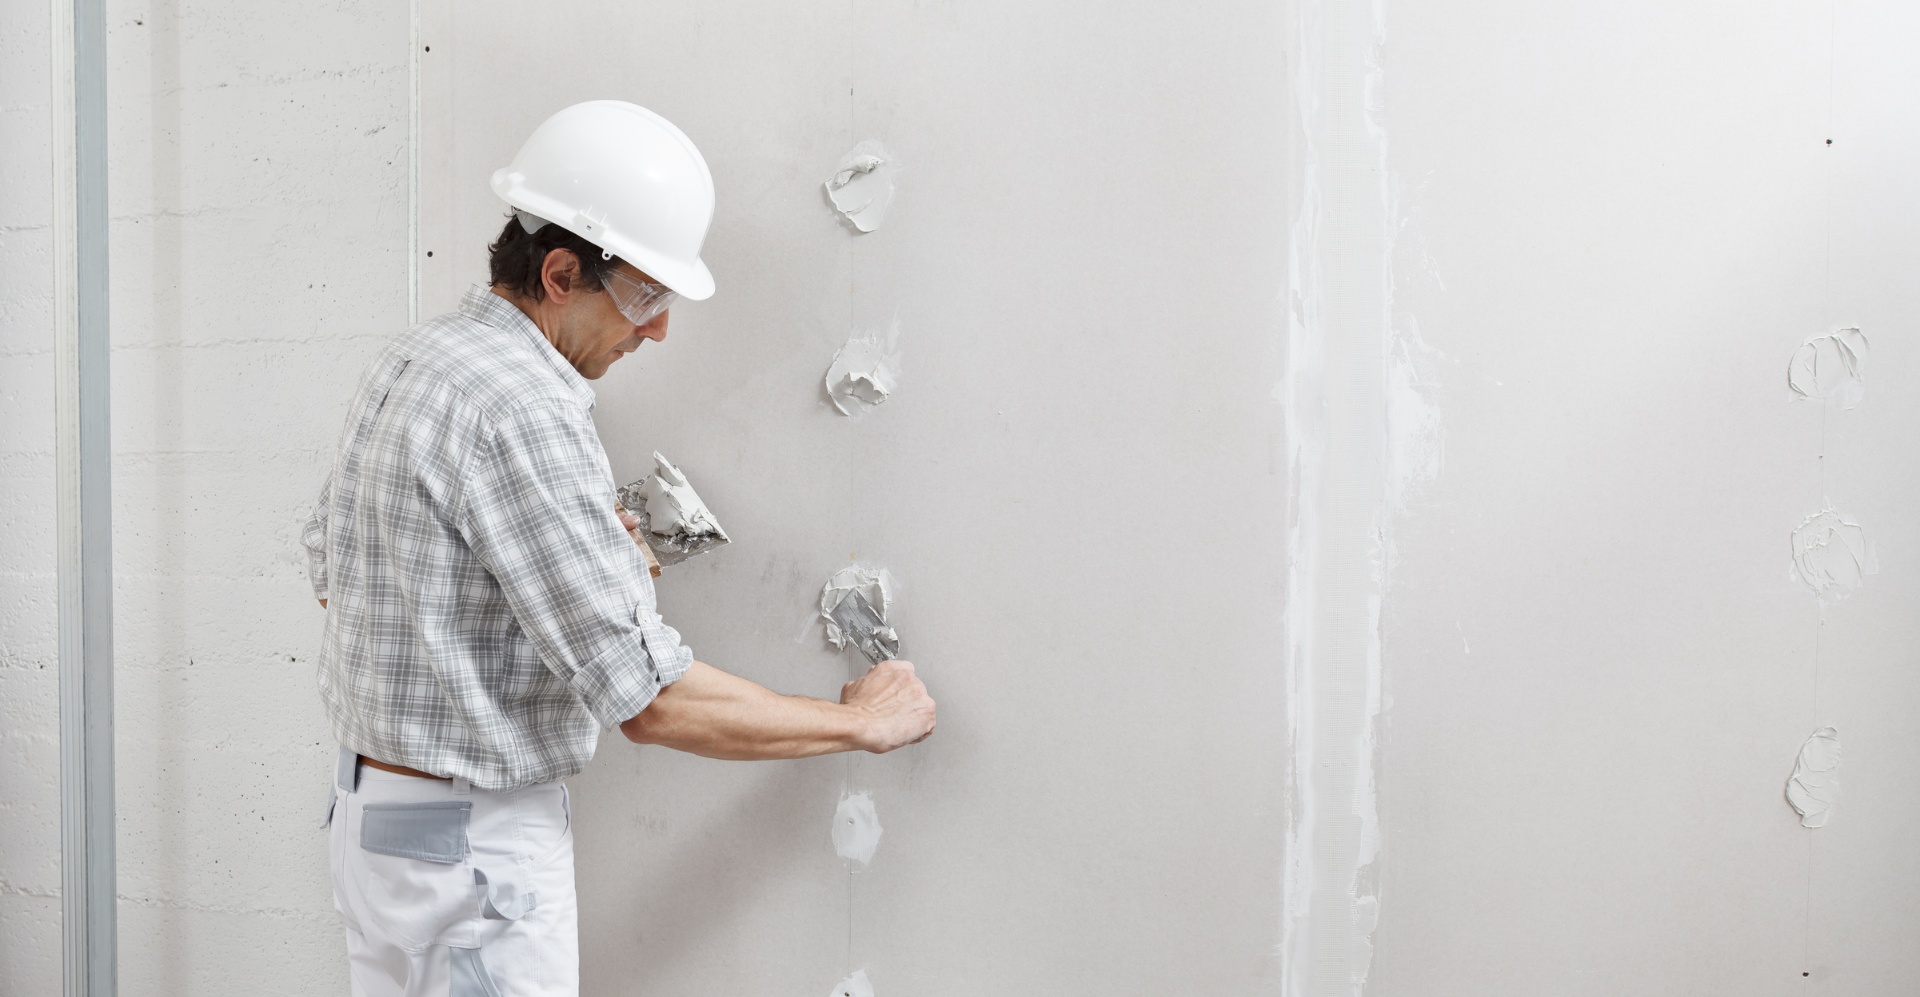
With the cavity clean and dry, new drywall sheets are cut to fit the opening and fastened to the framing with drywall screws. For ceiling repairs, using the correct screw spacing and driving screws into the joist center is especially vital for secure attachment – ceiling panels that pull away from the framing result in sags that are difficult and costly to fix later. The seams between new and existing panels are taped and coated with joint compound in several layers, with sanding between each application. Our [drywall repair](/services/drywall-repair) specialists meticulously match the existing wall texture so the repaired section blends seamlessly with the surrounding surface. After priming and painting, a well-executed repair becomes completely undetectable.
Preventing Future Leak Damage
After investing in drywall repair, taking measures to prevent future plumbing-related damage is a worthwhile endeavor. Install water leak detectors near water heaters, washing machine hookups, and beneath sinks – these affordable devices alert you to leaks before they cause substantial damage. Schedule periodic plumbing inspections, particularly in older homes with aging supply lines and drain connections. If your home has galvanized steel or polybutylene plumbing, consider proactive replacement before a failure occurs. Maintain appropriate water pressure – excessively high pressure accelerates wear on connections and valves. Homeowners in [Bloomington](/locations/indiana/bloomington) and throughout the region can prevent most plumbing-related drywall damage by catching leaks early and addressing them promptly.
Need Professional Drywall Help?
Contact Expert Drywall Repairs for a free estimate on your next project.
Get a Free QuoteLooking for drywall repair services in your area? Browse our full service directory by city.