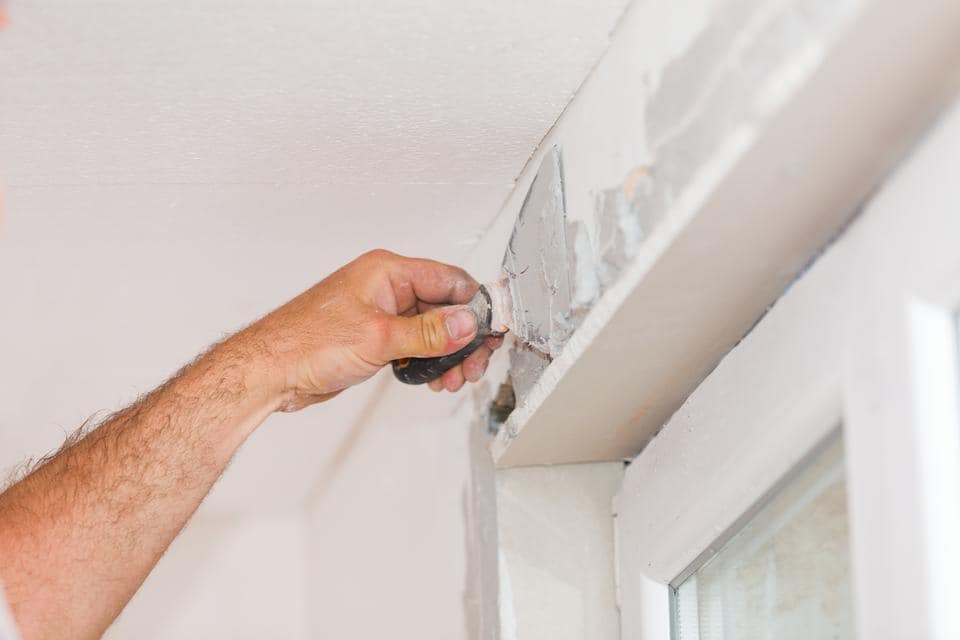
Often, taking off wallpaper leaves the drywall beneath damaged. The right repair approach can turn a ripped, uneven wall into a smooth, ready-to-paint surface.
Why Drywall Gets Damaged During Wallpaper Removal
Taking down wallpaper is a common home renovation task that frequently leads to unforeseen drywall damage. The issue arises from how wallpaper glue adheres to the drywall's surface. When wallpaper was put up over unprimed drywall—a frequent shortcut in older homes—the adhesive bonds directly to the paper face of the drywall panel. Removing the wallpaper then pulls off this paper layer, revealing the raw gypsum core underneath. Even if the drywall was properly primed, aggressive scraping, excessive water saturation during stripping, or wallpaper applied in multiple layers can still harm the surface. Homeowners in [Oklahoma City](/locations/oklahoma/oklahoma-city) and [Tulsa](/locations/oklahoma/tulsa) often find that what they thought would be a simple weekend wallpaper project turns into a complex, multi-step drywall repair and preparation job.
Evaluating Damage Level Post-Wallpaper Removal
Once all the wallpaper and adhesive residue are gone, carefully inspect the wall surface under bright, angled lighting. Holding a work light nearly flat against the wall and observing from an angle will highlight every flaw—gouges from scrapers, torn paper sections, areas where the gypsum core is exposed, adhesive residue, and textural differences between damaged and intact regions. The extent of this damage dictates the repair method. If damage is minor, confined to a few small ripped areas, targeted patching will suffice. If the paper facing is torn over large sections or the entire wall, skim coating the entire surface is a more efficient and aesthetically pleasing solution. If the gypsum itself is compromised—gorged, softened by moisture, or crumbling—replacement of that section might be necessary.
Sealing Exposed Drywall Paper Tears
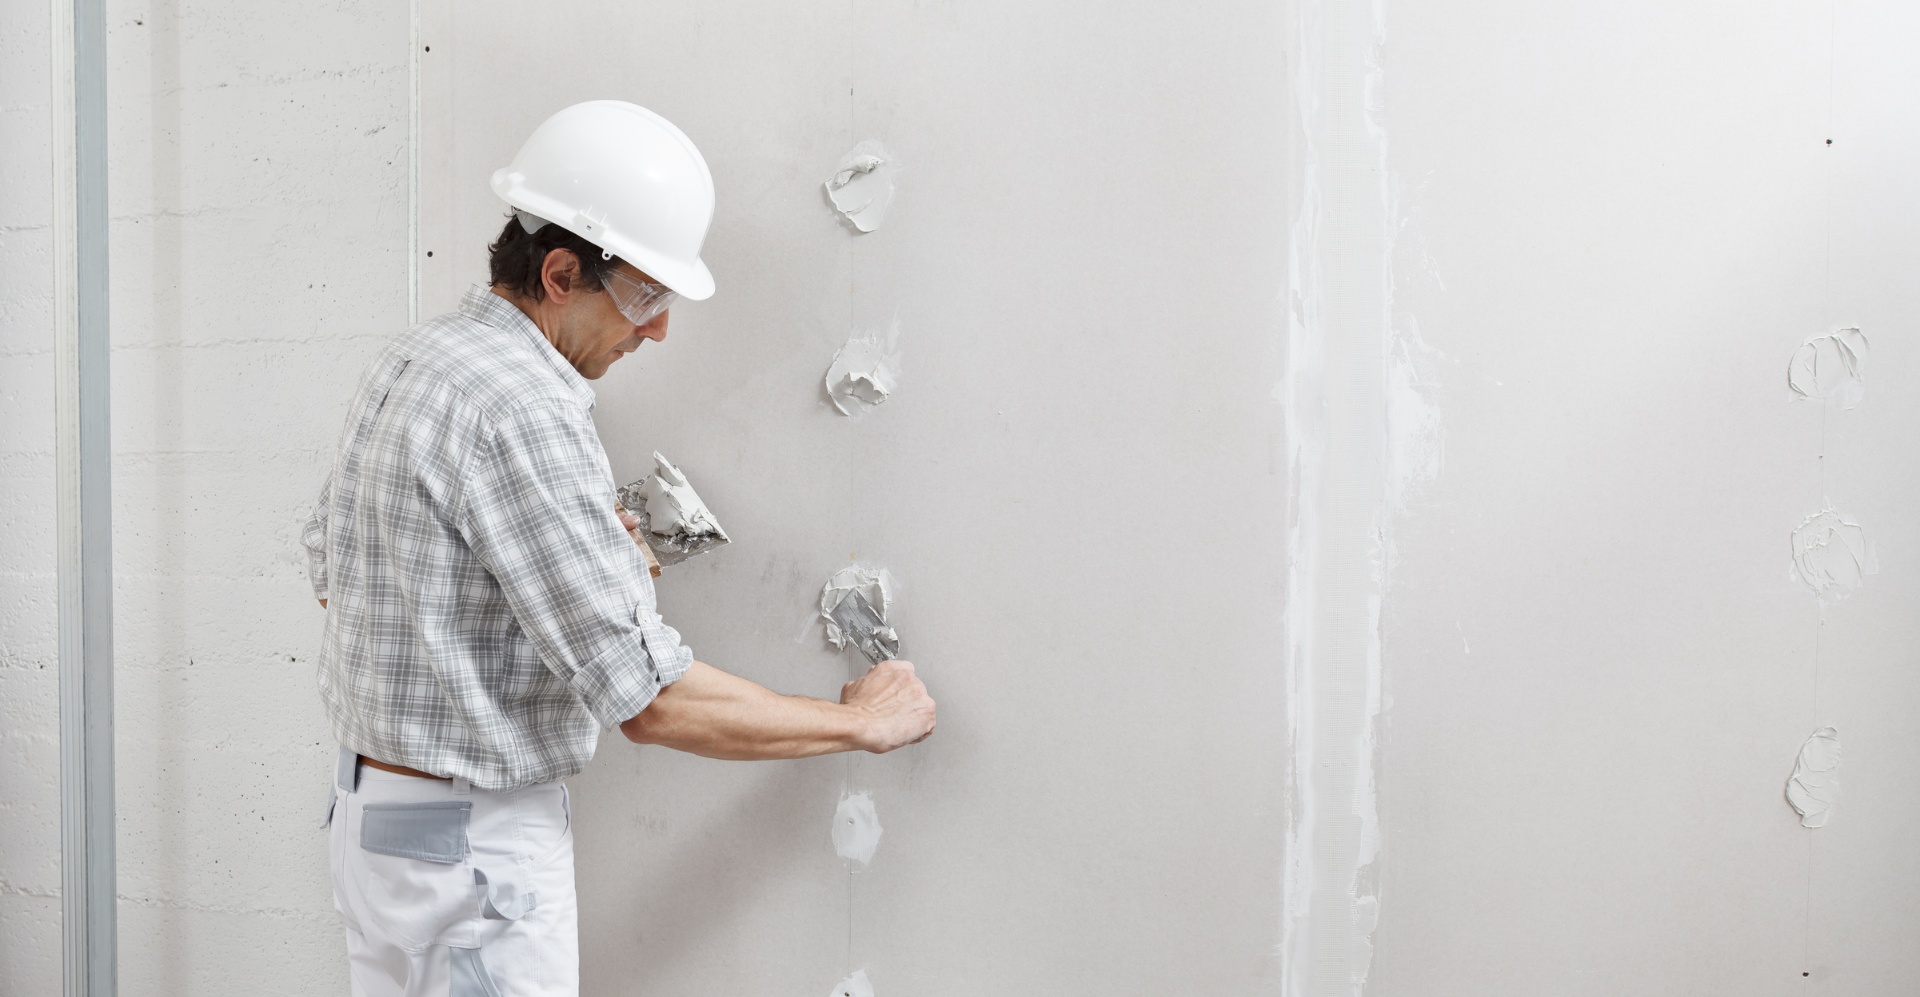
Areas where the gypsum core is exposed due to torn paper facing must be sealed before any patching compound is applied. Raw gypsum is extremely absorbent; applying joint compound directly to it will cause the moisture in the compound to be absorbed unevenly, leading to rapid drying in some spots and slow drying in others, resulting in an inconsistent, rough finish. The solution is to apply a coat of drywall primer-sealer over all damaged areas. This action seals the exposed gypsum, creates a uniform surface for compound adhesion, and prevents the compound from drying out prematurely before it can properly cure. Allow the primer to dry completely before proceeding further. Residents of [Norman](/locations/oklahoma/norman) and [Broken Arrow](/locations/oklahoma/broken-arrow) undertaking wallpaper removal should not skip this crucial step—it forms the foundation for a successful final finish.
Achieving Smoothness with Skim Coating
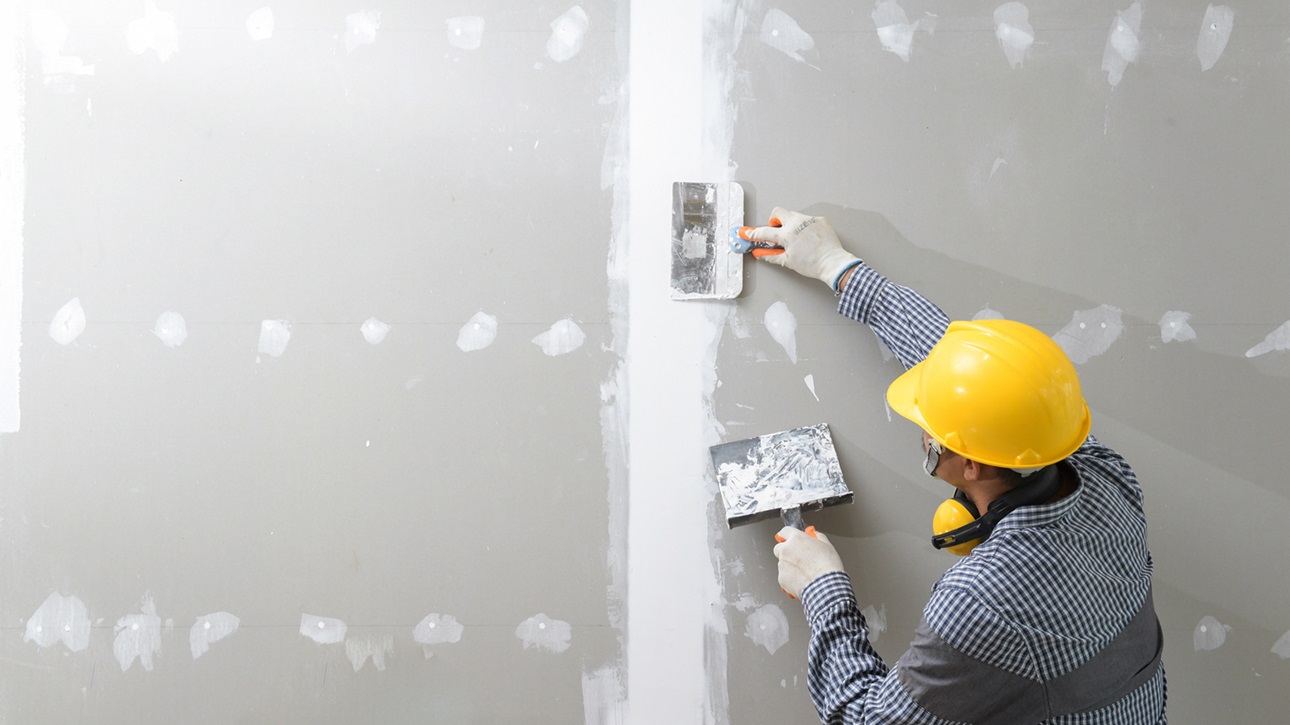
When wallpaper removal has caused extensive damage across significant portions of a wall, skim coating represents the most effective repair strategy. Skim coating involves applying a thin, consistent layer of joint compound over the entire surface—typically two coats with sanding performed between them—to create a smooth, uniform finish that hides all surface irregularities left by the wallpaper removal. This technique requires a wide finishing knife—10 to 14 inches—and joint compound mixed to a consistency that spreads smoothly without dragging. Apply the compound using overlapping strokes, maintaining consistent pressure and angle to achieve an even layer. Our [drywall finishing and texturing](/services/drywall-finishing-texturing) experts can provide Level 5 skim coat finishes that transform walls marred by wallpaper removal into perfectly smooth, paint-ready surfaces.
Handling Persistent Adhesive Residue
Any wallpaper adhesive remaining on the wall can cause significant issues for subsequent finishes. If paint is applied over adhesive residue, the residue absorbs moisture from the paint and reactivates, leading to bubbling, peeling, and poor paint adhesion. If joint compound is applied over adhesive, it may not bond correctly and could flake off over time. All adhesive must be removed before any repair work begins. For water-soluble adhesives, warm water mixed with a small amount of dish soap applied with a sponge and allowed to soak for several minutes will soften the adhesive, making it easier to remove with a scraper. For more stubborn adhesives, a commercial wallpaper adhesive remover solution will be more effective. In [Edmond](/locations/oklahoma/edmond) and surrounding regions, we frequently encounter multiple layers of adhesive from successive wallpaper applications, which may necessitate several rounds of chemical treatment and scraping for complete removal.
Prepping the Repaired Surface for New Finishes
After skim coating and sanding, the wall requires proper preparation before either paint or new wall covering is applied. Sand the entire surface with 150-grit sandpaper using a pole sander for consistent results, then wipe it down with a damp sponge or tack cloth to eliminate all sanding dust. Apply a high-quality drywall primer to the entire surface—this step is essential whether you plan to paint or re-wallpaper. For painting, the primer creates a uniform base that ensures consistent color and sheen. For new wallpaper, the primer establishes a surface allowing future wallpaper removal without damaging the drywall again—learning from the mistake that caused the current damage. A correctly repaired and primed wall after wallpaper removal will accept any finish beautifully and provide a lasting result.
Need Professional Drywall Help?
Contact Expert Drywall Repairs for a free estimate on your next project.
Get a Free QuoteLooking for drywall repair services in your area? Browse our full service directory by city.