Cracked or deteriorating drywall adjacent to electrical outlets and switches isn't just unsightly—it can pose a safety risk. Here's how to properly mend it.
Why Drywall Deteriorates Around Electrical Boxes So Frequently
The gypsum board surrounding electrical receptacles and light switches endures greater wear and tear than almost any other wall section. Each time a device is plugged in or removed, a vacuum cleaner bumps against the wall, or furniture is moved, the cutout edges absorb the impact. Unlike the solid center of a panel, drywall around an outlet box has been cut to create an opening, leaving thinner edges that are inherently weaker than the surrounding material. Over time, these edges typically crack, crumble, or break away completely, leaving noticeable gaps around the cover plate. These gaps not only look bad but can also expose wiring. Homeowners in [Newark](/locations/new-jersey/newark) and [Jersey City](/locations/new-jersey/jersey-city) frequently encounter this problem, especially in older residences where initial cutouts were less precise and the drywall has experienced decades of use.
Prioritizing Safety: Electrical Considerations
Before undertaking any drywall repairs near an electrical box, always switch off the corresponding circuit at your breaker panel. Confirm that the power is off by using a voltage tester on the outlet or switch. This step is mandatory – even seasoned contractors consistently follow this rule. Working close to live electrical wires with metal hand tools, drywall saws, and putty knives presents a significant risk of electric shock. If the outlet box itself is damaged, loose, or improperly secured, this constitutes an electrical repair that should be addressed by a certified electrician before any drywall work begins. While the drywall repair itself does not involve electrical tasks, its proximity to wiring necessitates strict adherence to basic safety protocols.
Addressing Minor Cracks and Degradation
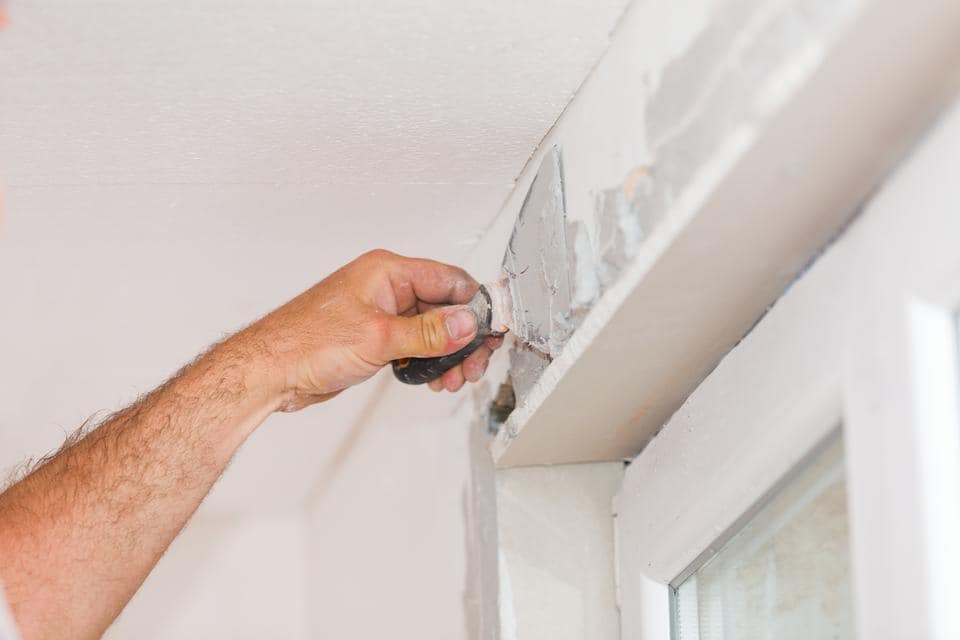
When damage is confined to small cracks or slight crumbling at the edges of the cutout, the repair process is simple. Remove the cover plate and clear away any loose debris from around the opening. If the edges are crumbly but the panel is otherwise sound, apply a thin layer of setting-type joint compound around the opening, pressing it firmly into the compromised areas. Allow it to fully dry, then sand smooth and apply an additional coat if necessary. For slightly more extensive damage where a section of the edge has broken off, a small piece of drywall mesh tape placed over the damaged area before applying compound provides added reinforcement. Our [drywall repair](/services/drywall-repair) specialists routinely perform these minor yet detailed repairs across [Paterson](/locations/new-jersey/paterson) and [Elizabeth](/locations/new-jersey/elizabeth).
Mending Larger Breaches and Ruptured Cutouts
When the damage extends significantly beyond the outlet opening—such as a large hole, a shattered section, or a previous failed repair—a patch approach is required. The damaged area is carefully cut out into a clean rectangle, extending to the nearest wall stud on at least one side to ensure secure fastening. A new piece of drywall is cut to fit this opening, with a precise cutout for the electrical box. The patch is then fastened to the stud and any backing material added on the opposite side, before being taped and finished with compound. Achieving the precise outlet cutout on the new piece is crucial; if too tight, the drywall can crack when the box is tightened, and if too loose, the cover plate may not span the gap. Professional-grade oscillating tools and rotary cutout tools significantly simplify this task compared to using a hand saw.
Handling Excessively Large Cutouts
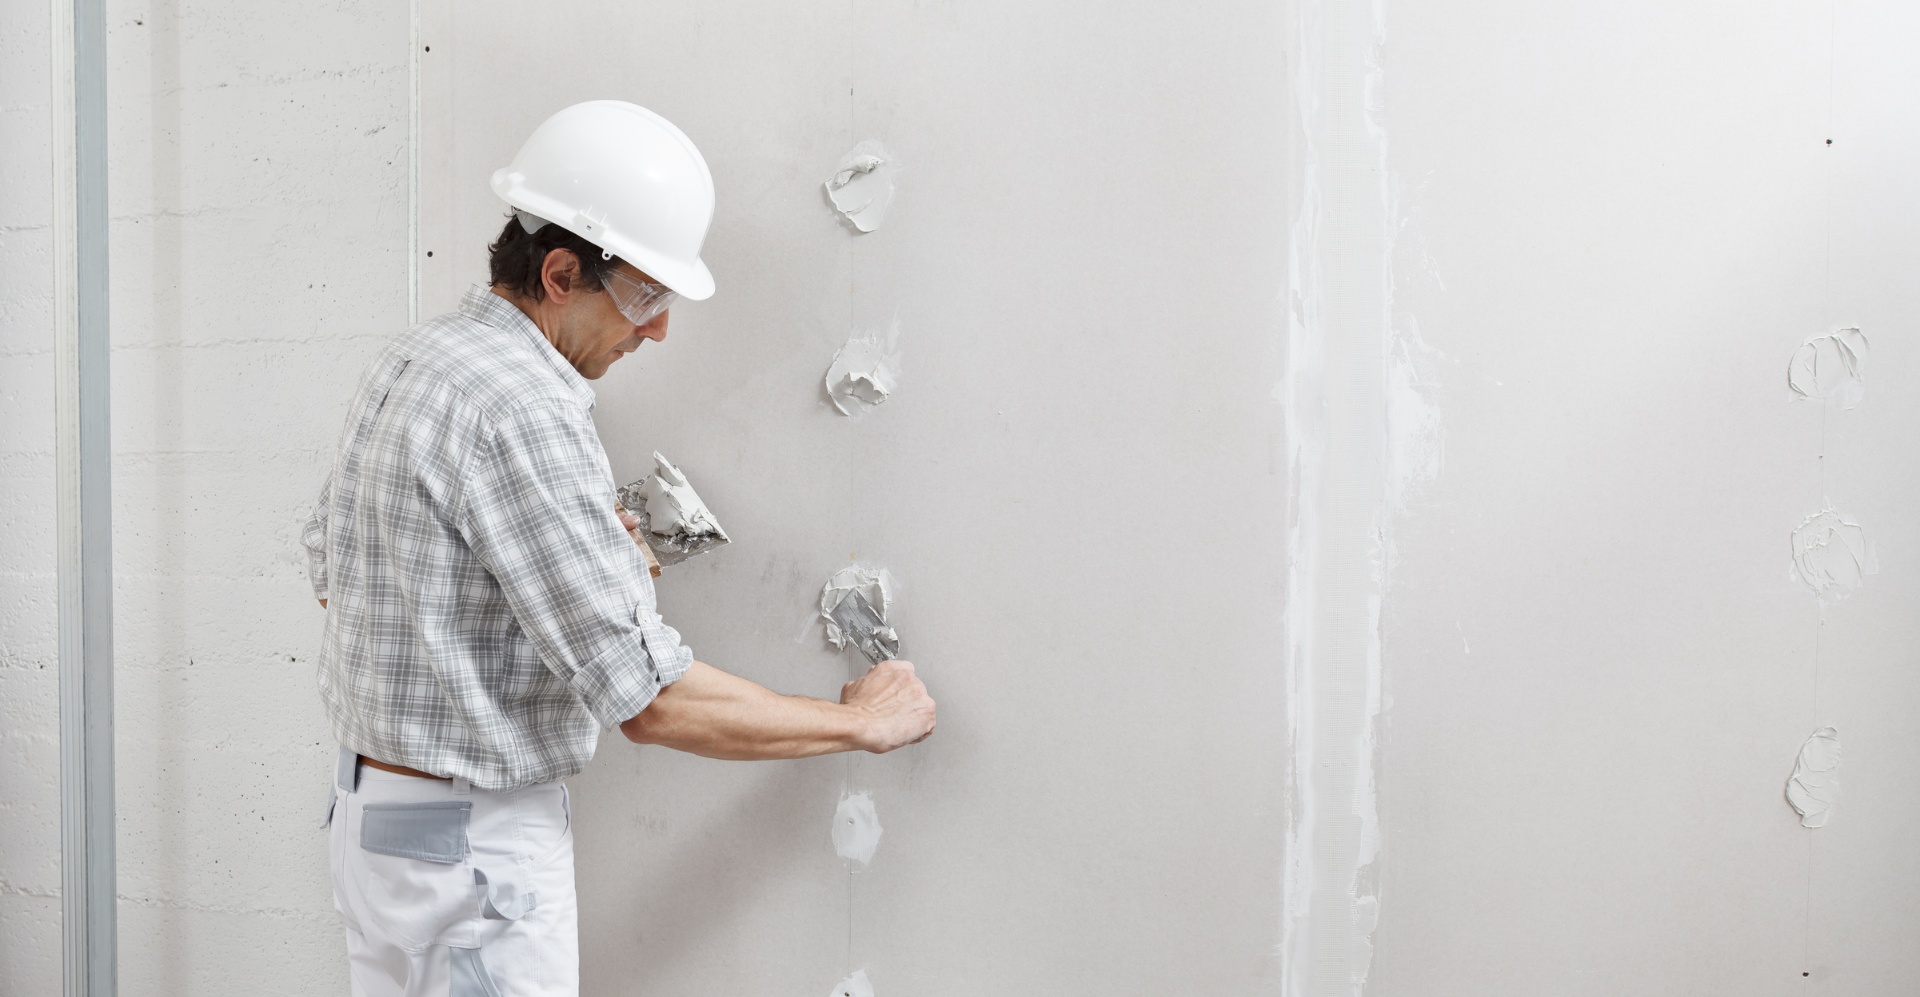
One of the most prevalent issues is an outlet cutout that was made too large during the initial installation. This results in gaps around the electrical box that the cover plate cannot completely hide. The solution varies depending on the size of the gap. Gaps up to roughly a quarter-inch can be filled gradually with setting compound, allowing each layer to dry before the next is applied. Larger gaps will require physical support – strips of drywall mesh tape can bridge the gap, providing a base for the compound to adhere to. For extremely oversized cutouts where the gap exceeds half an inch on any side, the most dependable solution is to remove the compromised section and install a correctly cut replacement piece. Homeowners in [Trenton](/locations/new-jersey/trenton) renovating older properties frequently encounter oversized cutouts, particularly in areas where outlets have been moved or electrical boxes replaced over the years.
Achieving a Flawless Finish for an Invisible Repair
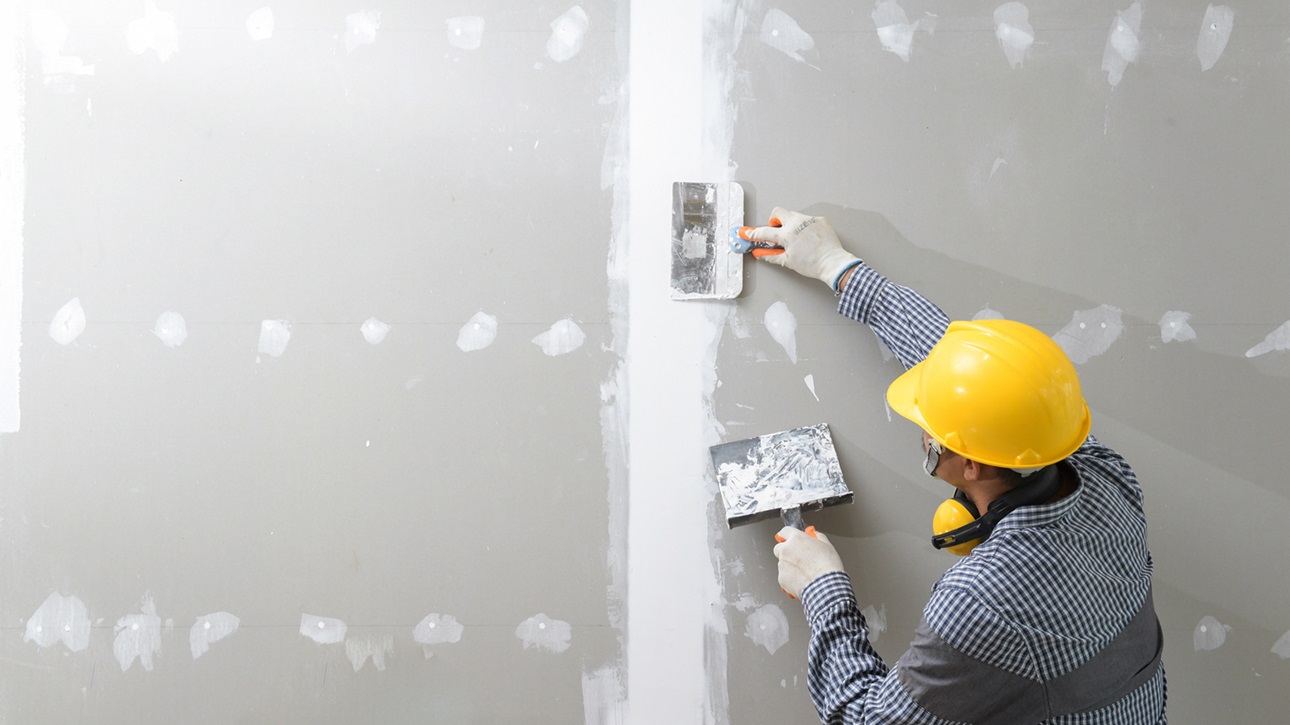
The finishing process around outlets demands precision because the cover plate frames the repaired area, drawing attention to any imperfections. Apply joint compound in thin layers, feathering each successive coat slightly wider than the last to create a smooth transition. Sand lightly between coats with fine-grit sandpaper, taking care not to gouge the surface. The objective is a surface that is perfectly flush with the surrounding wall; any high spots will prevent the cover plate from sitting flat, and any low spots will create visible shadows around the plate's edges. After the final sanding, prime and paint the area, then reattach the cover plate. A properly executed repair around an outlet should be completely unnoticeable with the plate in place, and nearly invisible without it.
Need Professional Drywall Help?
Contact Expert Drywall Repairs for a free estimate on your next project.
Get a Free QuoteLooking for drywall repair services in your area? Browse our full service directory by city.